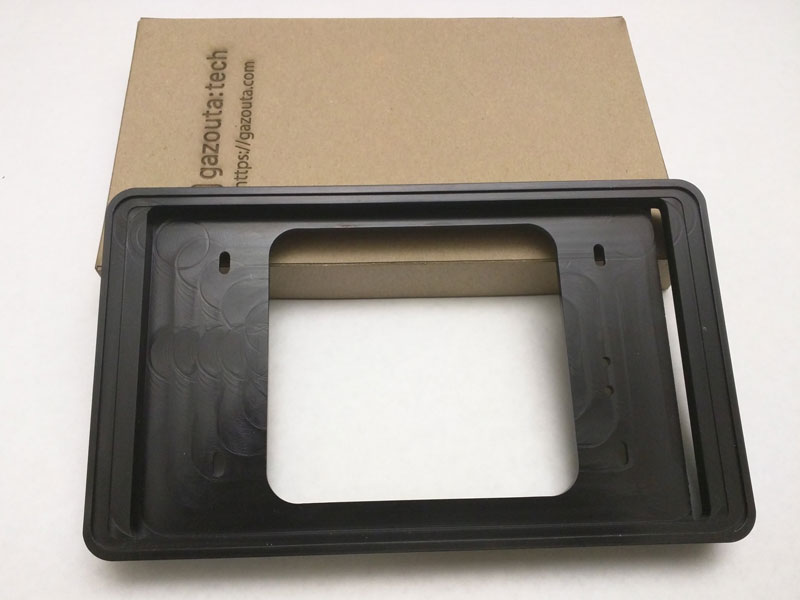
1. Front of Mount
This image shows the proper orientation of the mount (top is up)
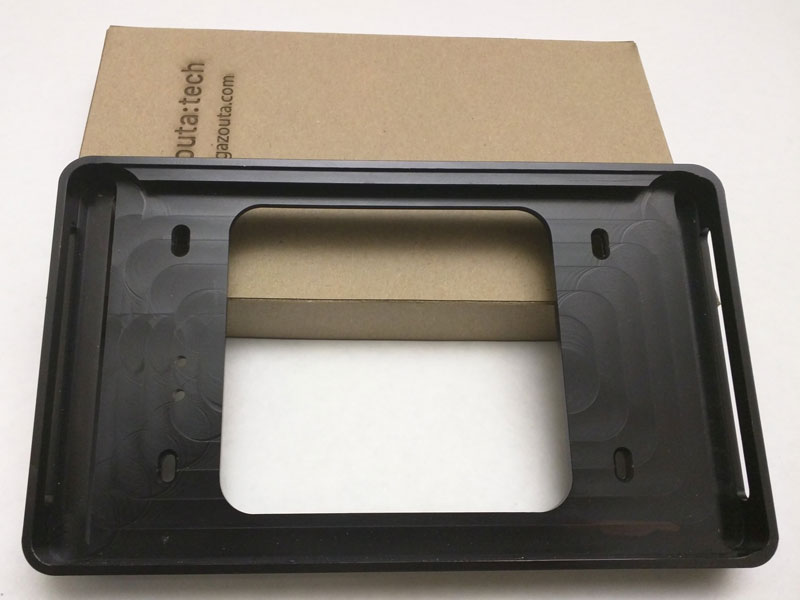
2. Back of Mount
This image shows the proper orientation of the mount (top is up)
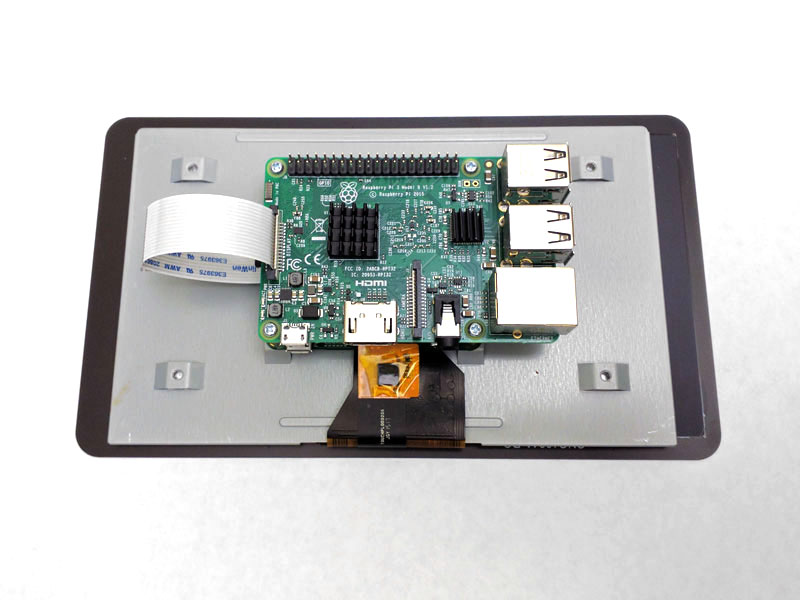
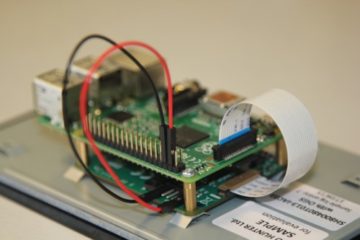
Assemble Pi and Screen
The picture shows the proper orientation of the screen
Note: Pi and Screen are sold separately.
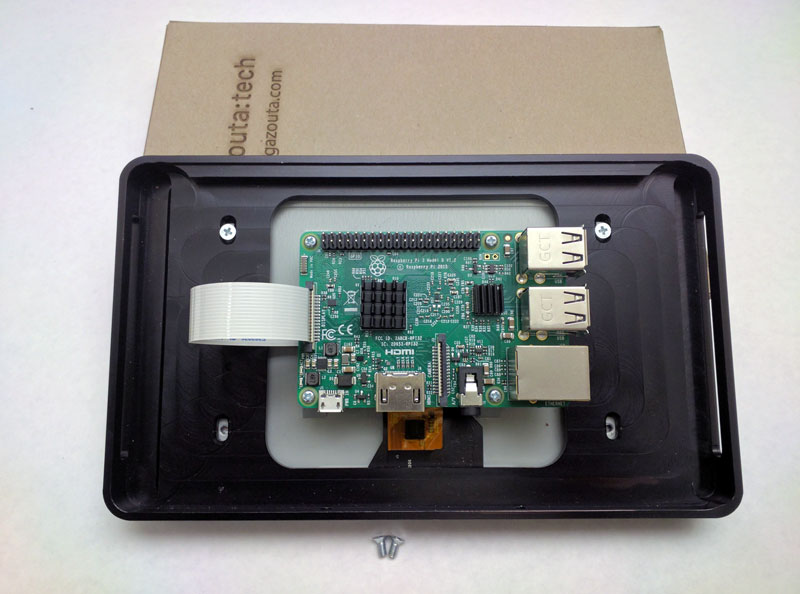
Secure Screen to Mount
Using the #4-440 screws, secure the screen and Pi to the mount. Note that the Pi is mounted with the GPIO pins on the top (careful not to over-tighten).
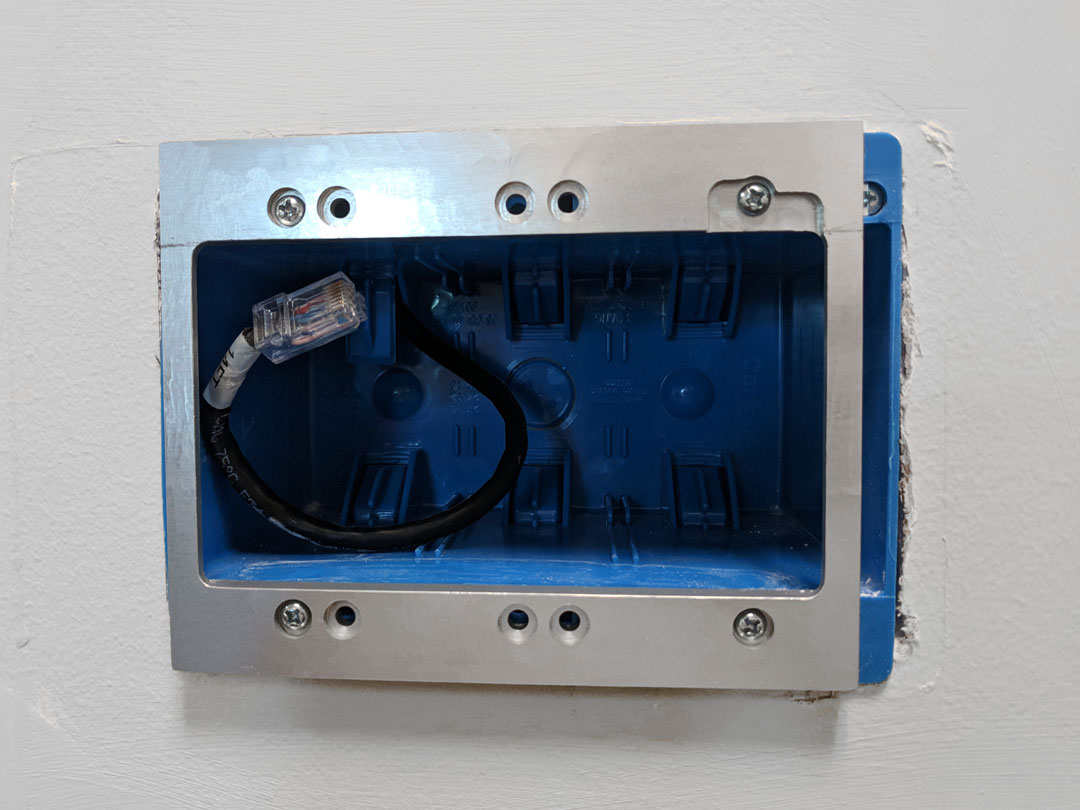
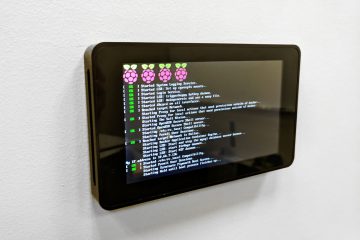
Install Bracket
The bracket should be attached to the electrical Box with the #6-32 machine screws
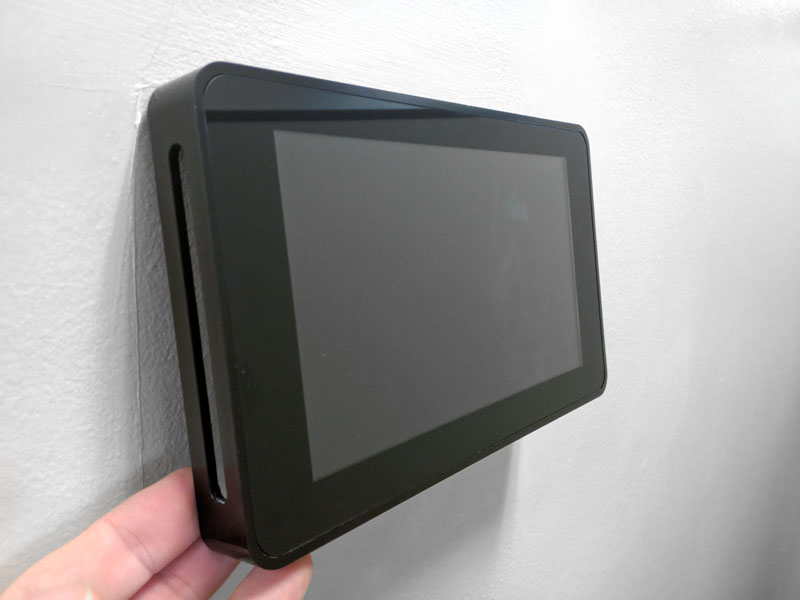
Install Mount on Bracket
By tilting the mount backwards it can be placed on the bracket. Take care not to pinch cables.
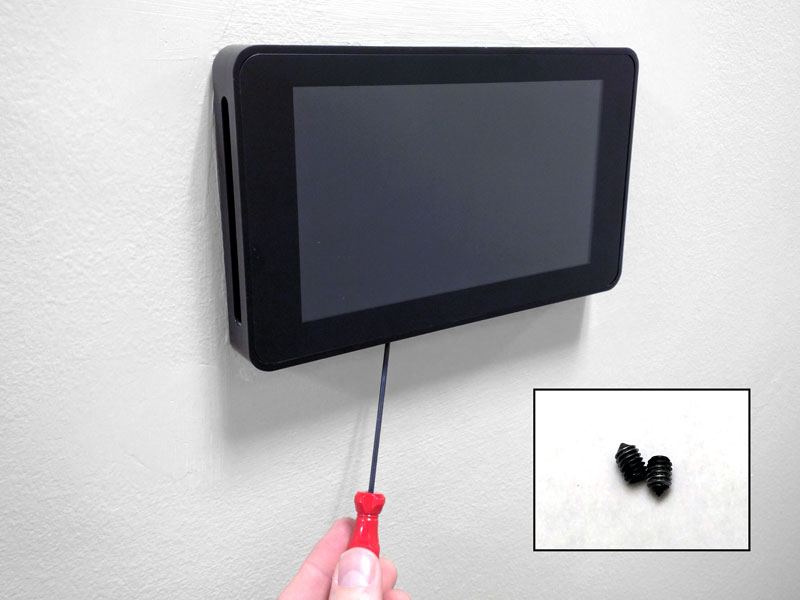
Lock Mount on Bracket
use the two set screws to lock the mount securely to the bracket. This works best with 5/64" Ball ended allen wrench
What About Power?
If your network switch provides POE power, the best option is to also use a POE hat or splitter with your Pi Install.